
A good microphone changes how people hear you. Whether you stream games, record a podcast, join video calls all day, or film videos for YouTube, your voice is the part of the setup your audience notices first — and a muddy, echoey, or distant voice is hard to listen to for long. The good news is that you do not need a recording studio or a big budget to sound clear and professional. You just need the right microphone for your voice, your room, and what you actually plan to record.
To choose the right microphone, start with your use case, then pick a connection type and a capsule type that fit your room. For most beginners, a USB dynamic microphone is the safest first buy: it plugs straight into your computer, rejects background noise, and sounds good in an ordinary room. Choose a USB condenser microphone only if your room is quiet, and move to an XLR setup when you want an upgrade path and the best sound quality.
How to Choose a Microphone by Use Case
The best microphone for a streamer is not necessarily the best microphone for a podcaster. Before comparing specs, decide what you will record most often.
- Streaming and gaming. You need a microphone that rejects keyboard clicks, fan noise, and game audio bleeding from your speakers. A cardioid dynamic microphone on a boom arm is the classic choice.
- Podcasting. Clarity and a natural voice matter most. If you record alone in a quiet room, a condenser microphone sounds rich and detailed. If two people share a room, dynamic microphones keep each voice separate.
- Video calls and online classes. Simplicity wins. A USB microphone that sits on your desk and works the moment you plug it in is all you need — nobody on a call benefits from studio-grade gear. Pair it with a good camera — see our guide to choosing a webcam.
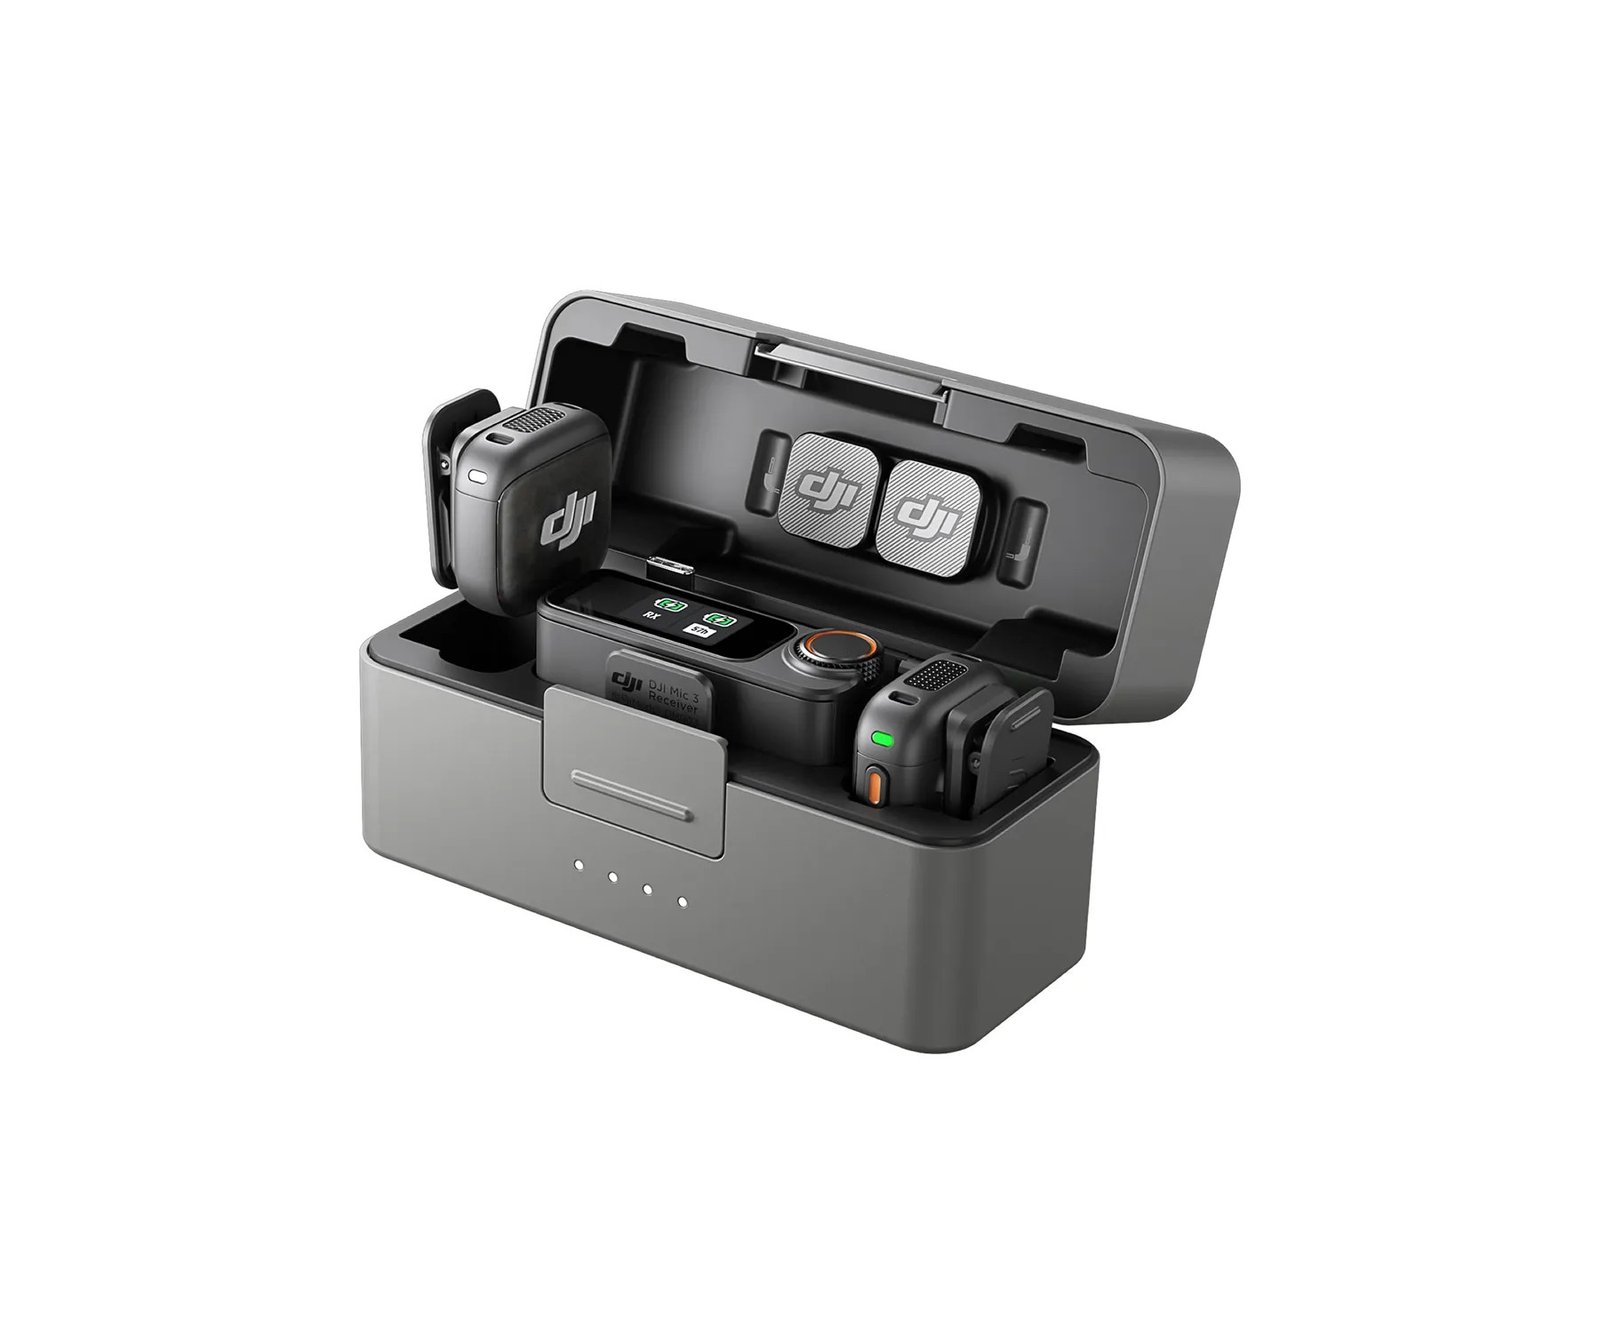
- Video and vlogging. A camera-mounted shotgun microphone or a small wireless lavalier microphone beats any desk microphone, because the microphone travels with you and stays close to your mouth. For more on cameras, see our guide to choosing an action camera.
- Music and voice-over. Recording instruments or narration calls for a large-diaphragm condenser microphone, ideally an XLR model paired with an audio interface.
Write down your main use case before you shop. It narrows the field from hundreds of microphones to a handful, and it stops you from paying for features you will never use.
USB vs XLR: How the Microphone Connects
This is the first real decision, and it shapes everything else you buy.
USB microphones
A USB microphone plugs straight into your computer. The preamp and the analog-to-digital converter are built into the microphone itself, so there is nothing else to buy and nothing to configure. You plug it in, select it in your app, and start recording. That simplicity is why USB microphones are the default recommendation for beginners, streamers, and anyone who wants good sound without a learning curve.
The trade-offs are real but easy to live with. You can usually use only one USB microphone at a time, and because the electronics are built in, you cannot upgrade the preamp or converter separately — improving your sound means replacing the whole microphone. For most people, that is a fair price for plug-and-play convenience.
XLR microphones
An XLR microphone uses a three-pin professional connector and plugs into an audio interface or mixer, which then connects to your computer. The setup costs more and takes a little learning, but it is modular: you can upgrade the microphone, the interface, or the cables independently, run several microphones at once, and get noticeably better sound from quality gear.
Choose XLR if you plan to record seriously for years, want to host multi-person podcasts, or already own an interface. Choose USB if you want to record this week with zero fuss. Some newer microphones offer both USB and XLR outputs, which is a smart middle ground — start on USB, switch to XLR later without buying a new microphone.
Dynamic vs Condenser: How to Choose a Microphone for Your Room
Microphones fall into two families, and your room decides which one sounds better — not the price tag.
Dynamic microphones
Dynamic microphones are rugged and less sensitive. They pick up sound close to the microphone and reject noise from farther away, which makes them ideal for ordinary, untreated rooms with keyboards, fans, and street noise. Their sound is often described as warm and focused, and many professional broadcasters use them every day. The catch is that some dynamic microphones need more gain than a basic interface provides, so check whether your setup can drive the model you want.
Condenser microphones
Condenser microphones are more sensitive and capture more detail, air, and nuance in a voice. In a quiet, treated room they sound crisp and natural — the classic studio sound. In a noisy room, though, they pick up everything: keyboard clicks, echo off bare walls, the hum of a refrigerator down the hall. XLR condenser microphones need 48-volt phantom power from an interface; USB condenser models draw power from the USB connection.
The rule of thumb is simple. If your room is noisy or untreated, a dynamic microphone will sound cleaner with far less effort. If your room is quiet, a condenser microphone will reward you with extra detail. Do not buy a sensitive condenser for a noisy room and hope software noise removal will fix it — it rarely does.
Polar Patterns: Where the Microphone Listens
A polar pattern describes the directions from which a microphone picks up sound. Most home recording uses just one pattern, but knowing the options helps you avoid common mistakes.
- Cardioid. Picks up sound from the front and rejects sound from the rear. This is the pattern you want for solo streaming, podcasting, and calls — it focuses on your voice and ignores much of what is behind the microphone.
- Supercardioid. A tighter version of cardioid with a small rear lobe. Better in noisy rooms, but you need to stay on-axis, directly in front of the microphone.
- Omnidirectional. Picks up sound from every direction. Useful for round-table discussions or capturing room ambience, but it also captures every noise in the room, so it is a poor choice for solo recording.
- Figure-eight. Picks up sound from the front and rear while rejecting the sides. Handy for two-person interviews facing each other across a desk.
- Stereo. Uses two capsules to capture a left-right image. Nice for recording instruments or ambient sound, rarely needed for voice.
Many USB condenser microphones, including popular multi-pattern models, let you switch patterns with a dial on the microphone. If you buy one, learn which setting matches your situation — using omnidirectional mode for a solo podcast is one of the most common beginner mistakes.
The Extras That Make a Big Difference
The microphone itself is only half the setup. A few inexpensive accessories often improve your sound more than spending twice as much on the microphone.
- A boom arm or desk stand. Getting the microphone off the desk and close to your mouth — about a fist’s width away — is the single biggest sound upgrade you can make. It also keeps the microphone away from keyboard vibrations.
- A pop filter or windscreen. Plosives — the bursts of air from “p” and “b” sounds — cause loud thumps in recordings. A simple foam windscreen or mesh pop filter tames them.
- A shock mount. This elastic suspension isolates the microphone from bumps and vibrations traveling through your desk.
- Closed-back headphones. Monitor yourself while recording so you catch problems immediately. Closed-back headphones keep the playback sound out of the microphone.
- Room treatment. You do not need acoustic foam panels. A rug, curtains, a bookshelf, and soft furniture cut echo dramatically in a bare room. Record a test clip, clap once, and listen for the echo — then add soft surfaces until it fades.
Set your recording level so your normal speaking voice peaks around -12 dB, and do a 30-second test recording before any important session. Five minutes of testing saves hours of re-recording.
Our Picks
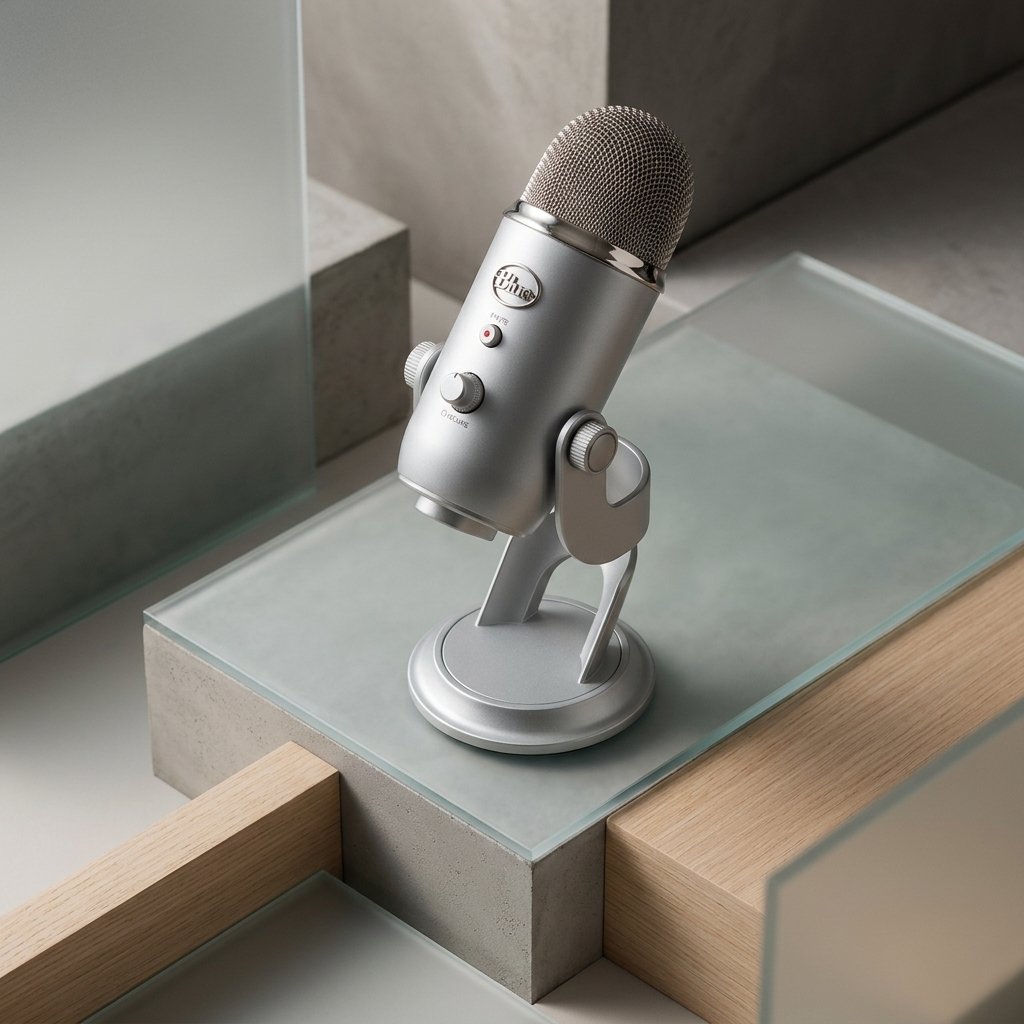
- Blue Yeti USB Microphone — A multi-pattern USB condenser microphone with cardioid, stereo, omnidirectional, and bidirectional modes, a simple plug-and-play choice for streaming, podcasting, and calls.
Frequently Asked Questions
Do I need an XLR microphone to sound professional?
No. A good USB microphone in a quiet room, positioned close to your mouth, sounds professional for streaming, podcasting, and calls. XLR matters when you want the best possible quality, multiple microphones, or a long-term upgrade path — not as a requirement for good sound.
How close should I be to the microphone?
About 4 to 6 inches (10 to 15 cm) for most cardioid microphones — roughly a fist’s width. Too far away and your voice sounds thin and distant while room noise creeps in; too close and plosives and breathing become loud. A boom arm makes it easy to hold the right distance.
Why does my microphone pick up my keyboard?
Your microphone is probably a sensitive condenser in a noisy room, or it is sitting on the desk next to the keyboard. Move the microphone closer to your mouth on a boom arm, switch to a cardioid dynamic microphone if you can, and add a noise gate in your recording software so the microphone only opens when you speak.
Is a headset microphone good enough for streaming?
A headset microphone is fine for casual calls and team chat, but it sits far from your mouth and captures less of your voice’s warmth and detail. If your audience hears you for hours at a time, a dedicated desk or boom-mounted microphone is a noticeable upgrade.
As an Amazon Associate I earn from qualifying purchases.